 How I Beat Insomnia (Updated)
 Life on Mars (!)|(?)
 Goodbye, Jon
 Goodbye, Dave
 Kingsman: The Secret Service (***½)
 Goodbye, Ruckus
 Scott’s Perfect Popcorn – Updated!
 How I Fixed My Overly-Sensitive Car Remote With Plasti-Dip
 Let’s *Really* Solve Health Care in the U.S.
 Strange Bedfellows – Sequester and Marriage Equality Edition
 Kay’s Cuisine for the Soul, Brenham, TX – highly recommended!
 Salt-Rising Bread (story and recipe)
 Why I’m Voting the Way I’m Voting
 Goodbye Astros (as I knew you)
 Won Ton Taco recipe
How To: Create a Ruffled Onesie
How to turn a thin utilitarian onesie into an adorable little mini-dress!
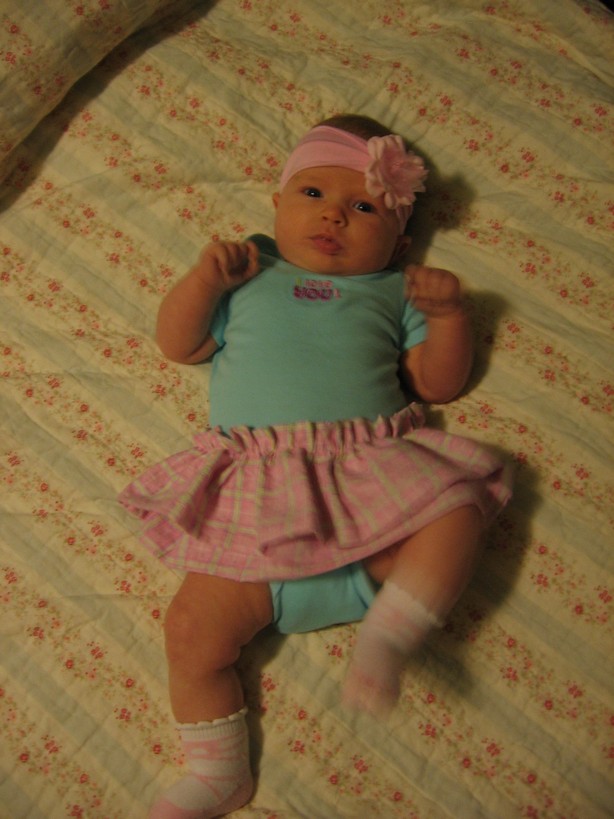
Ruffly goodness!
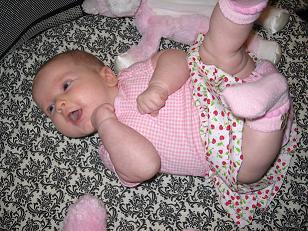
A little rockabilly one
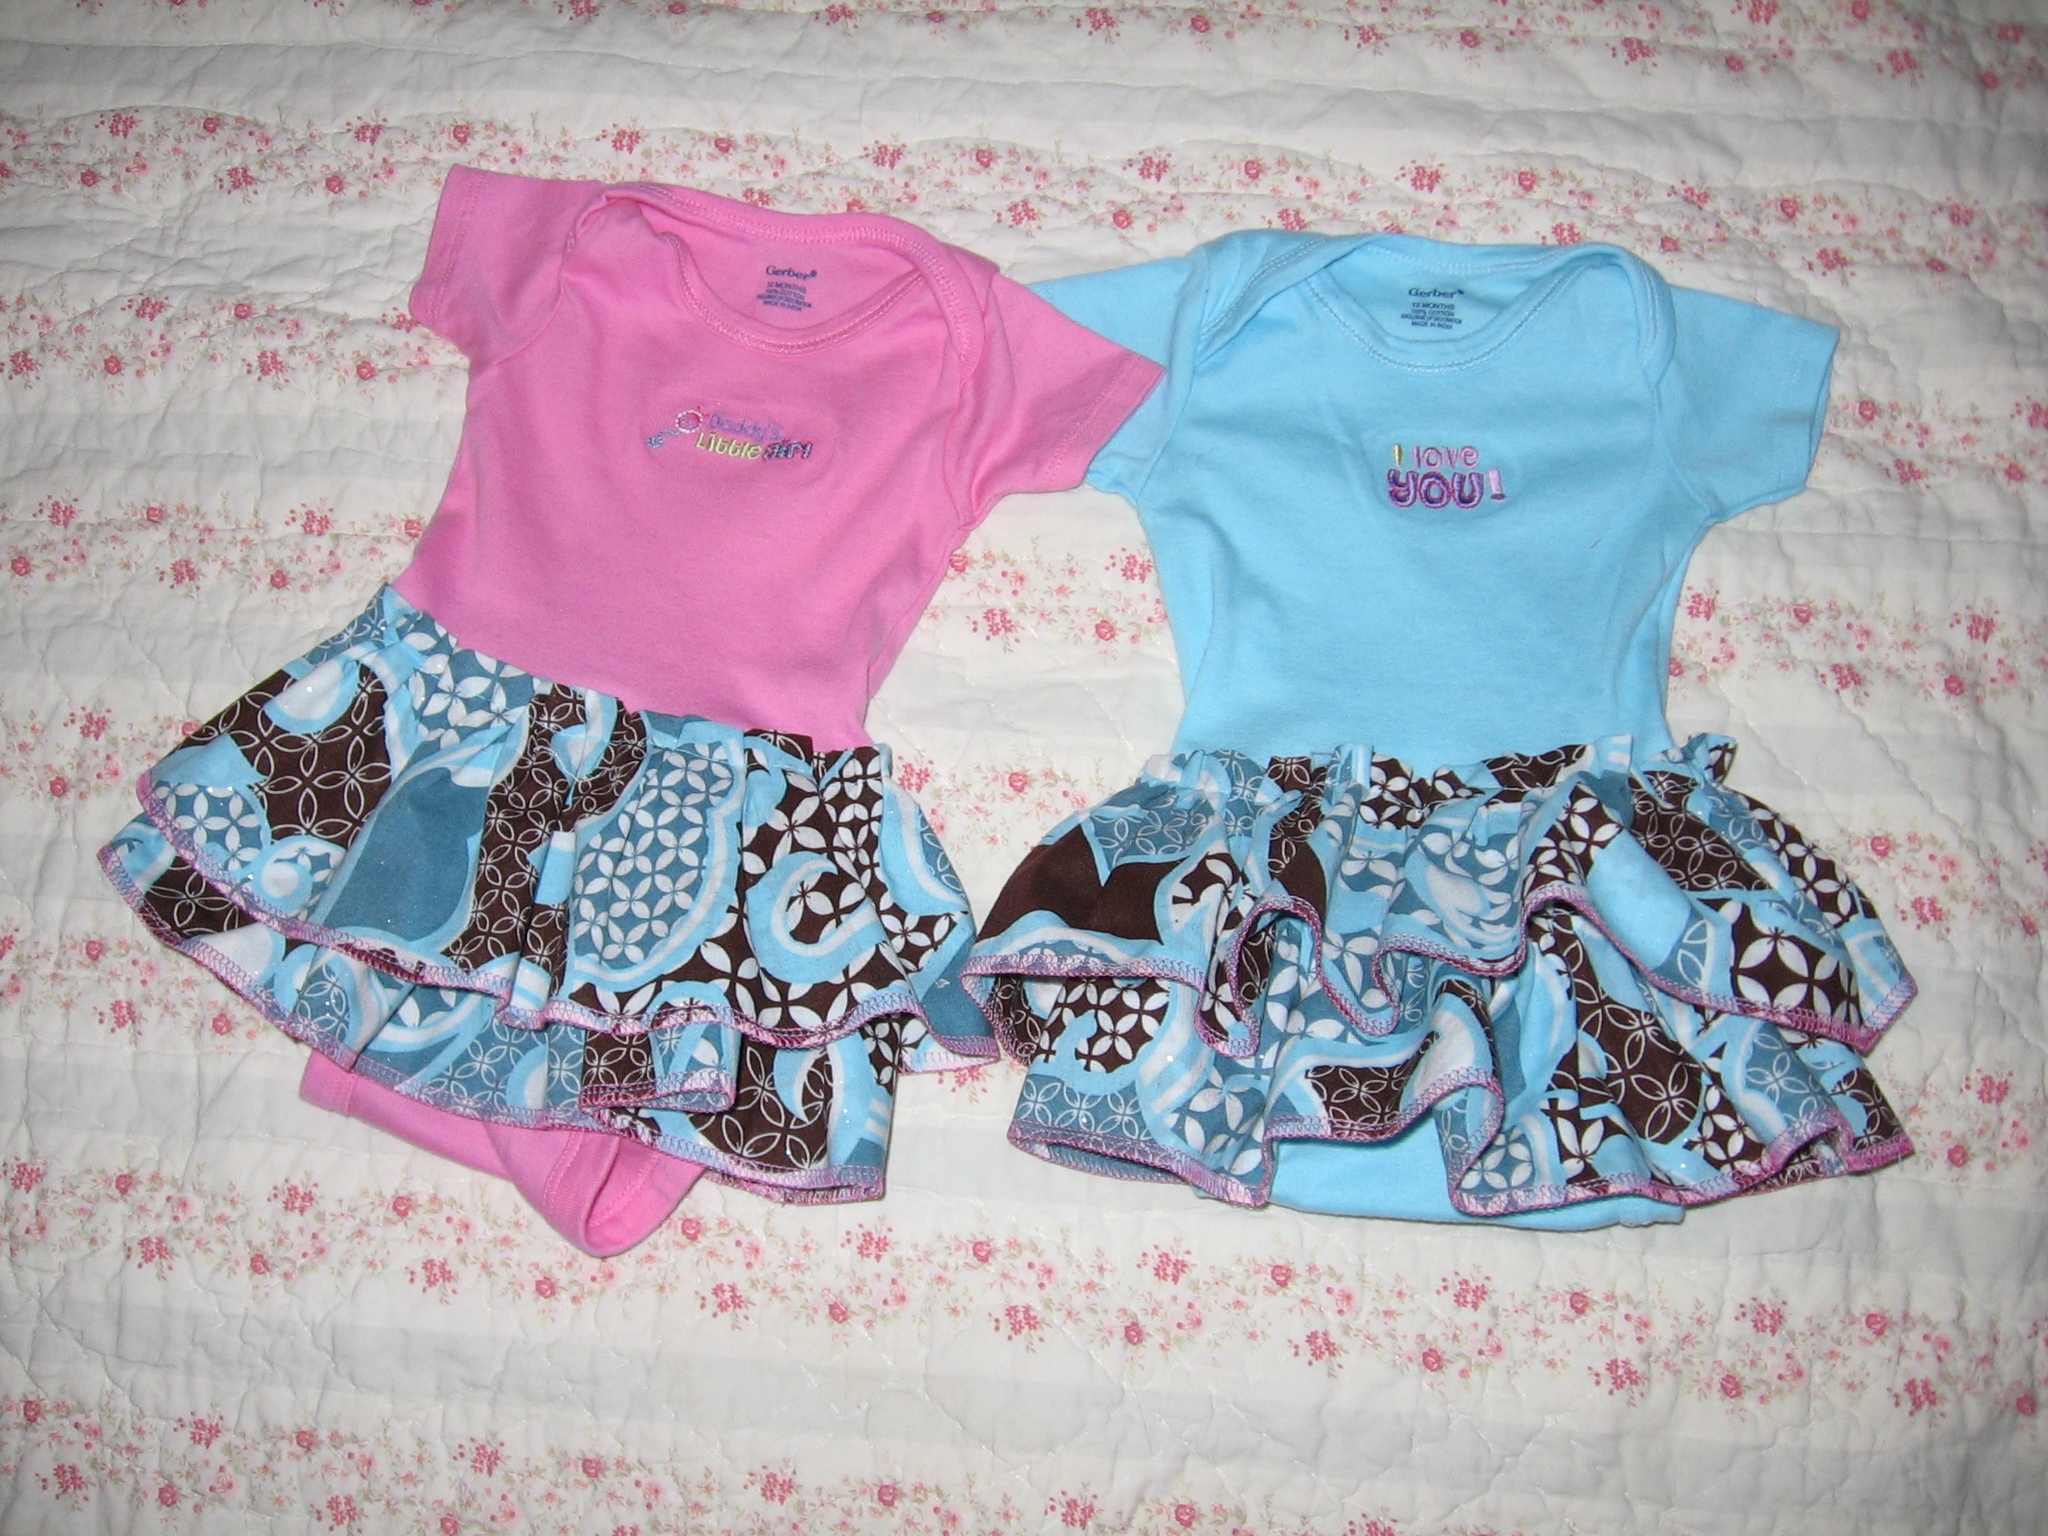
Two more awaiting wearing...
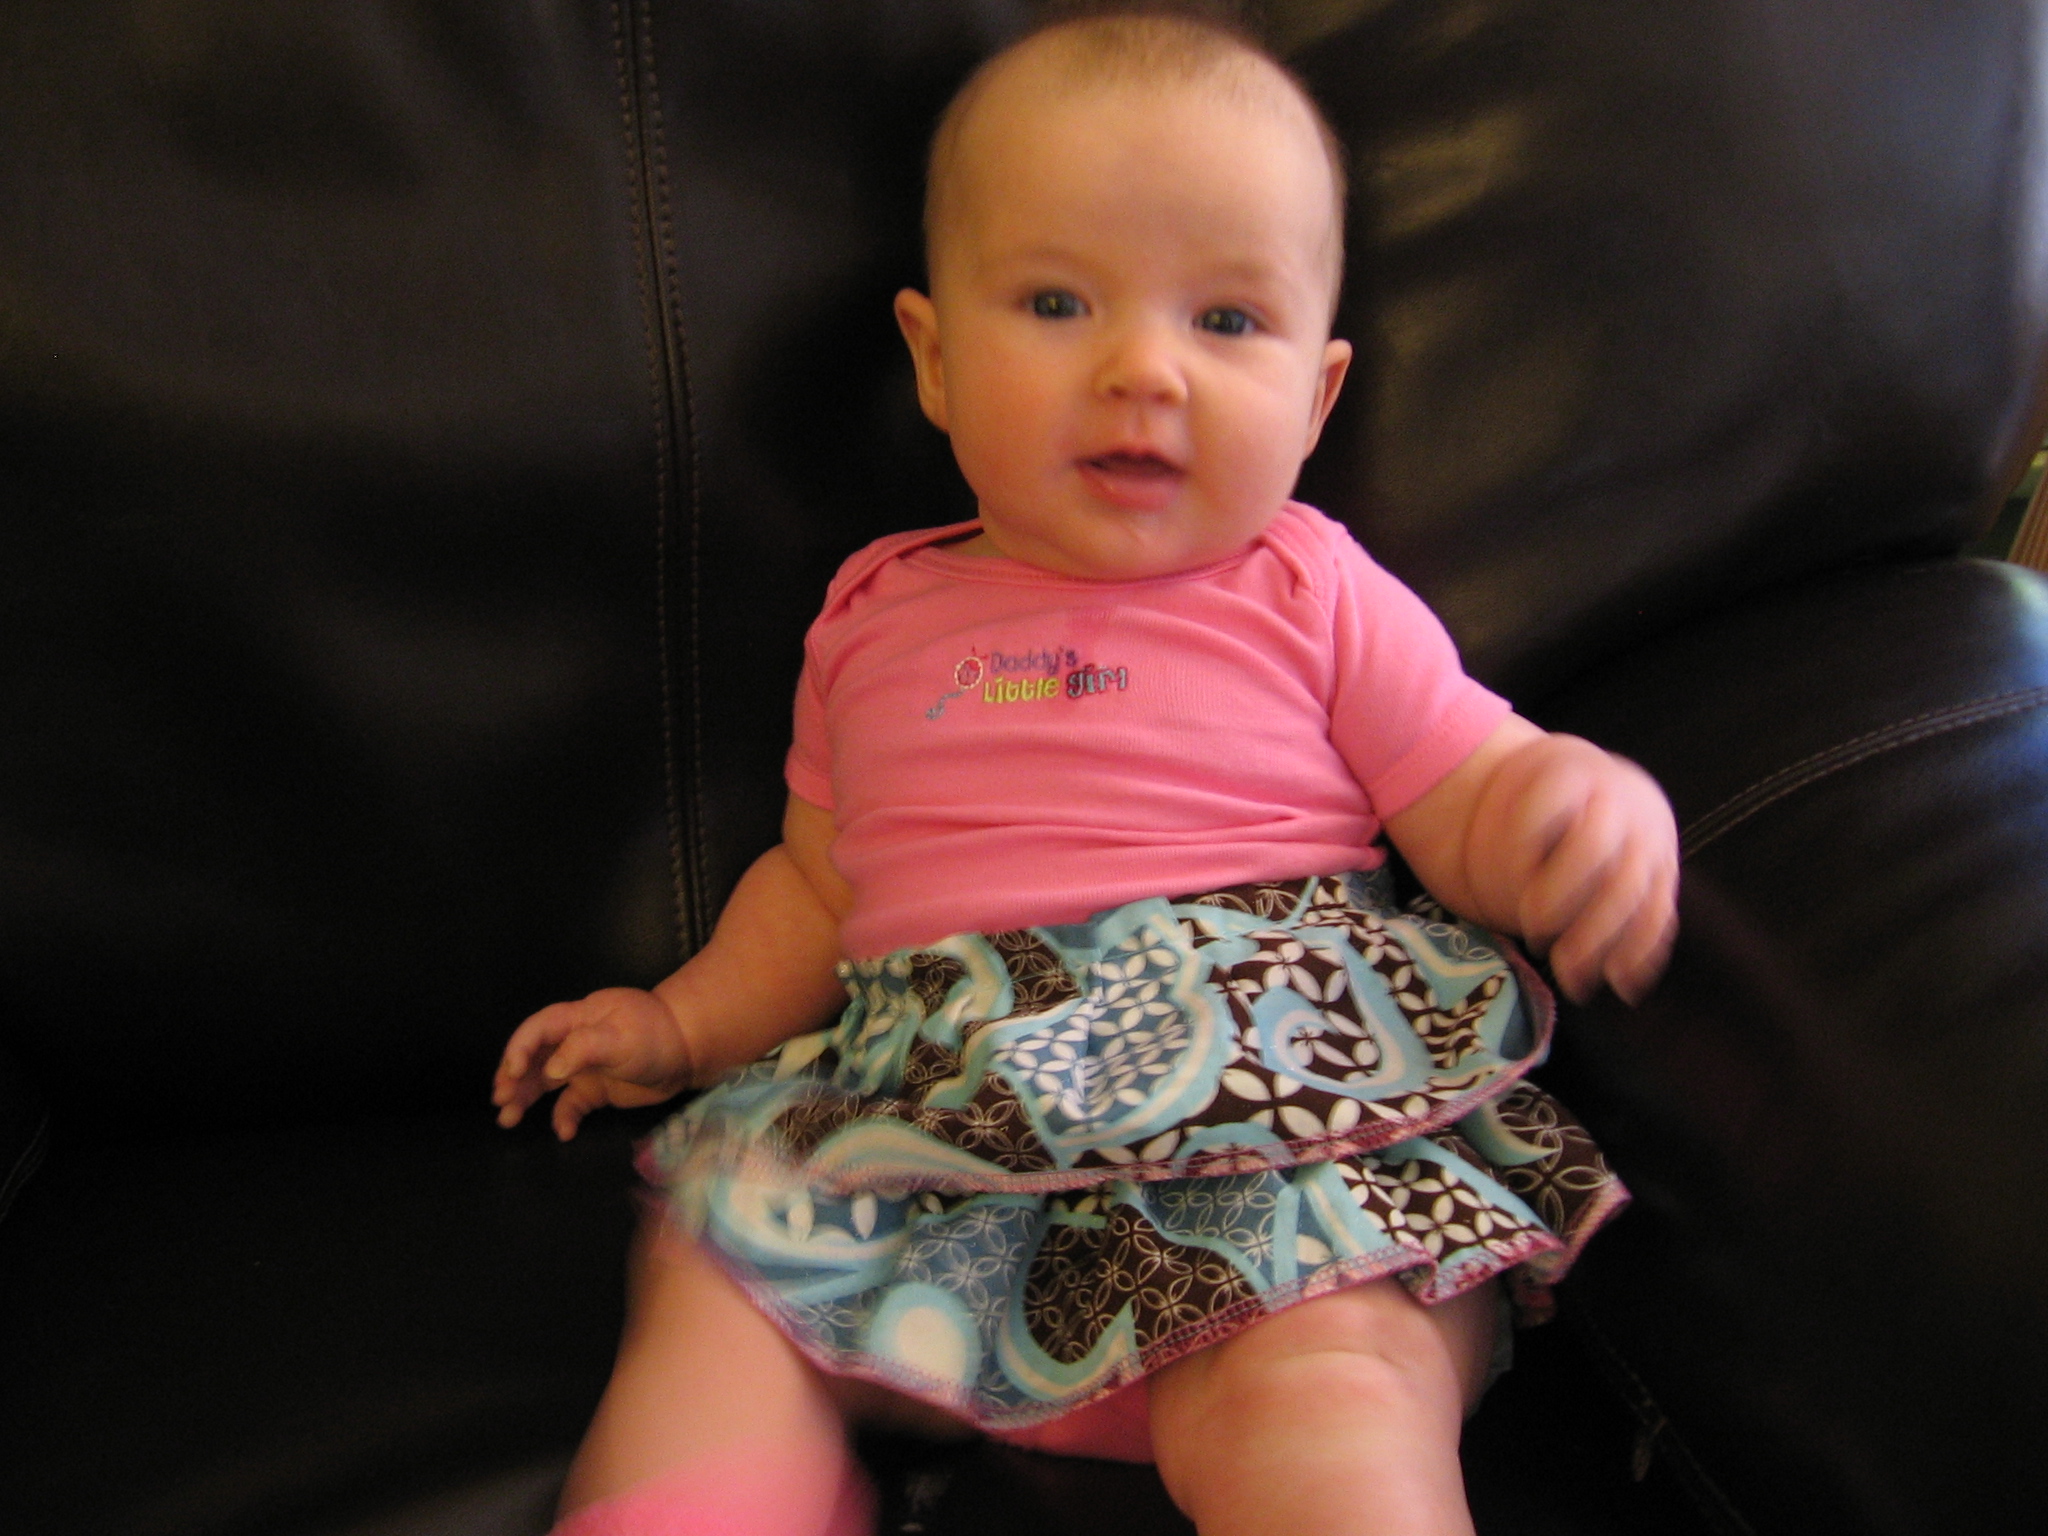
...and modeled
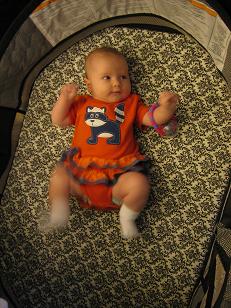
and a variation with smaller ruffles and bias tape trim!
First, gather your materials:
- Your victim onesie – I used a Gerber 12 month onesie that comes in a 5-pack. Fits my (admittedly monster tall) 2-month old perfectly
- Fabric (I used cotton seersucker but any cotton or cotton-poly should do just fine)
- Thread
- Scissors
- Ruler
- Pencil or marking pencil (I only had pencil, but it didn’t wash out as easily as I’d hoped, so I recommend a marking pencil if you can get your hands on one)
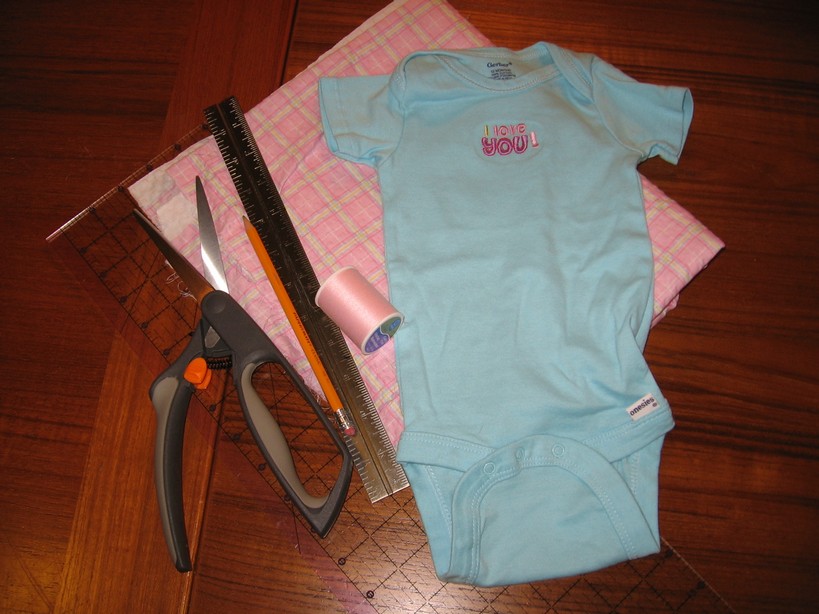
Your raw materials
Wash your fabric. For me, it’s always frustrating to have to wait to begin the project, but I’ve learned over the years that it’s really worth it.
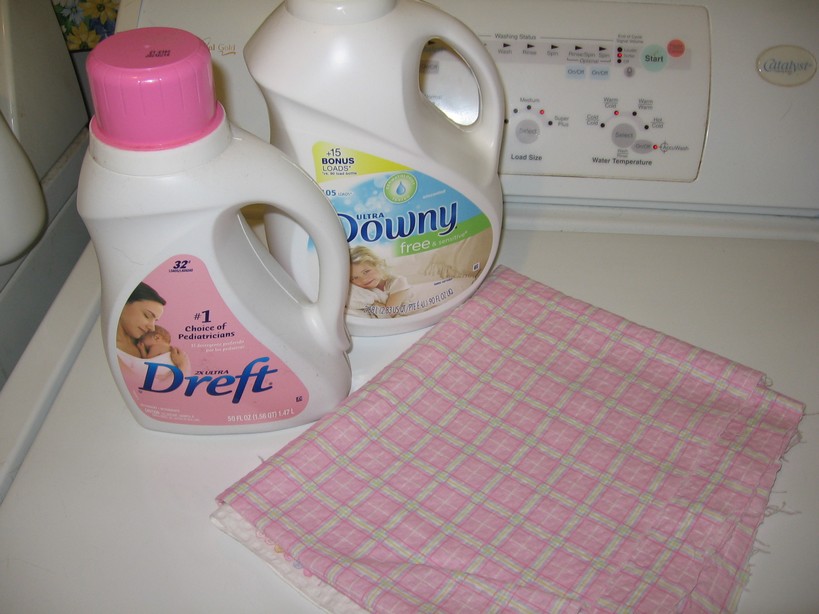
Wash the fabric
For the approximate ruffle size you see in the picture, cut two 9 inch strips of fabric that go the entire width of the fabric. If your fabric is more than 45″ wide you may want to trim it at 45″ so you don’t have TOO much ruffle.
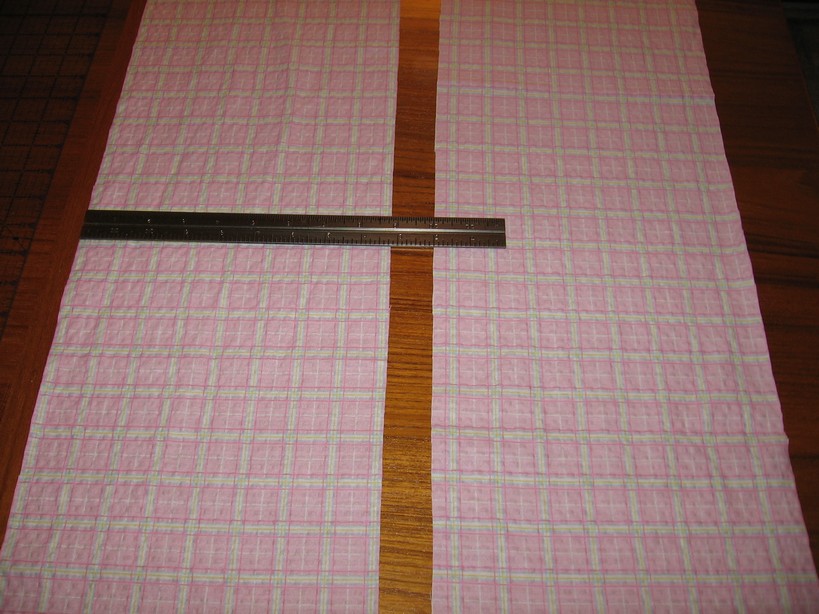
Two 9-inch strips of fabric
Fold each strip lengthwise with the right sides together. Stitch the long side with a very small seam allowance as shown here, making the strip into a tube.
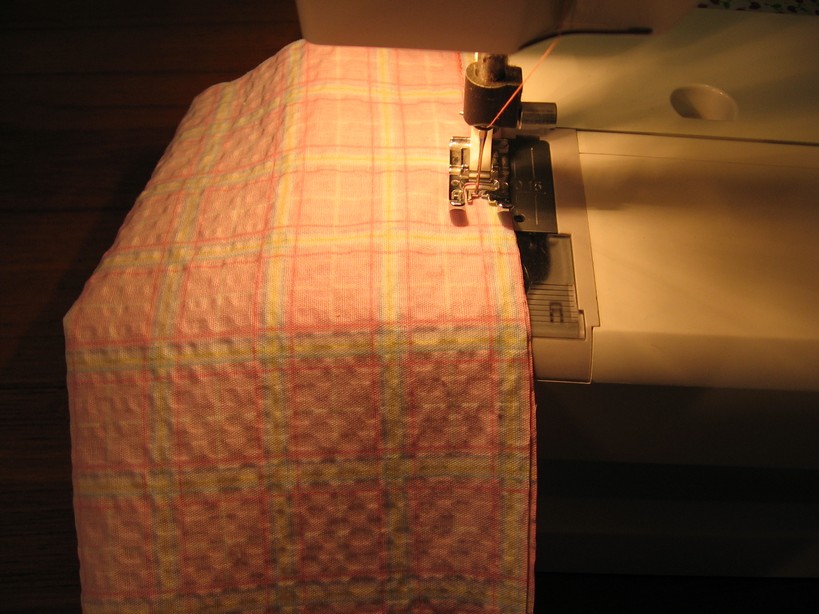
Stitch your strip into a tube
Then, zig-zag the raw seam allowance flat – this means the fabric won’t bulk up when you turn it right-side-out to make your ruffle. Of course, if you’re lucky enough to have a serger (hint, hint, Engineerboy), you can skip this step b/c you will serge this edge.
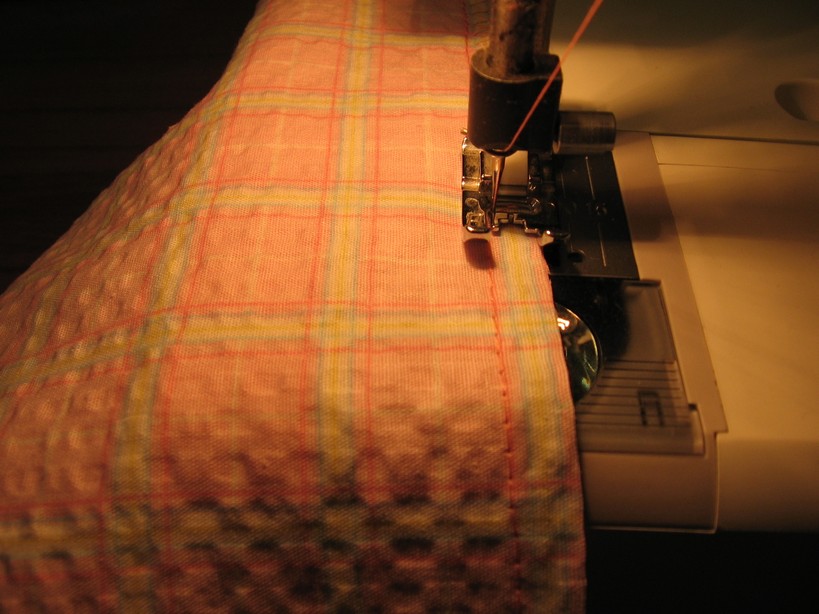
Zig-zag the seam allowance
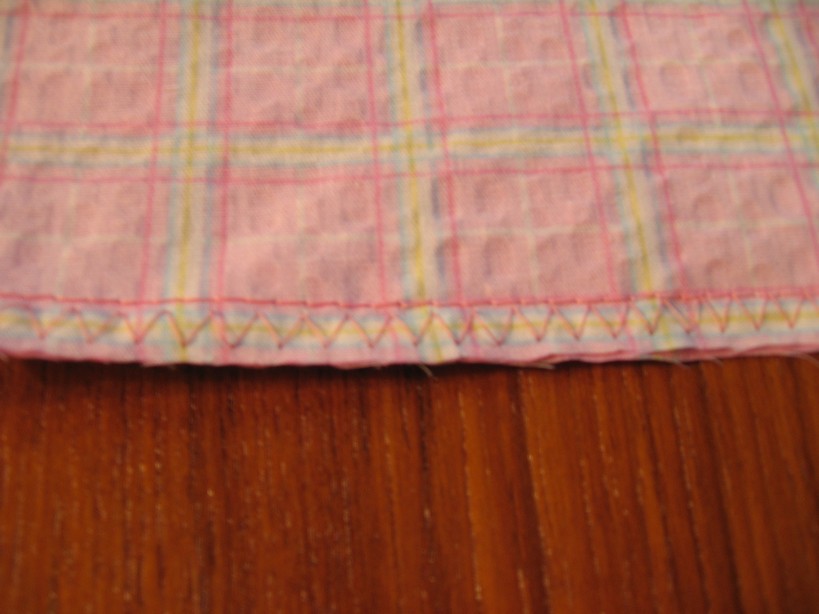
What your finished edge should look like
After that you’ll have two tubes of fabric:
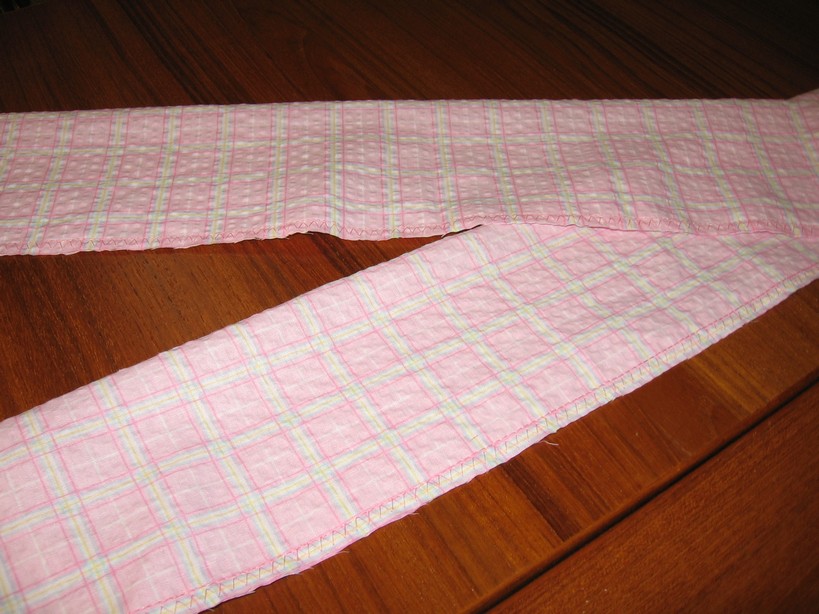
Fabric tubes
Turn your tubes right-side out and iron them flat.
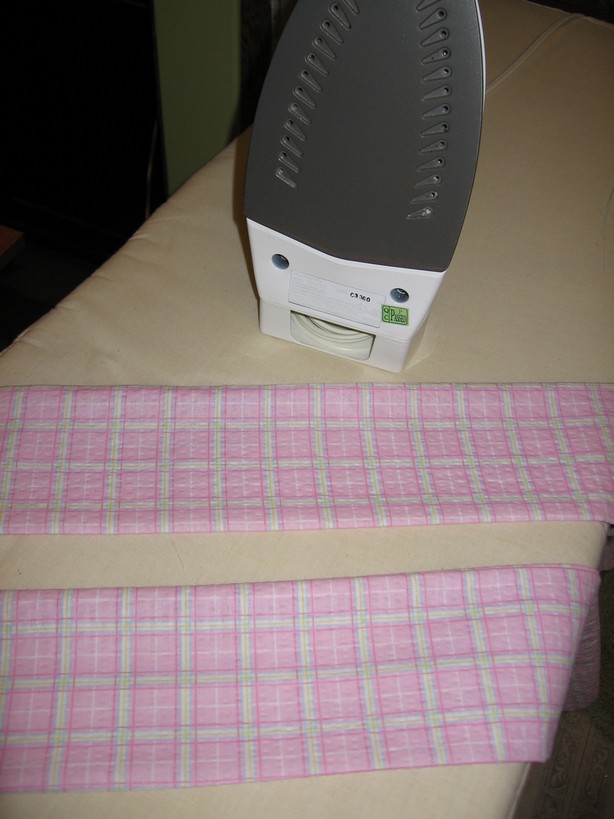
Ironed fabric tubes
On each open end of the tube, fold the raw edge under to the inside of the tube (I did about 3/8″) and iron flat.
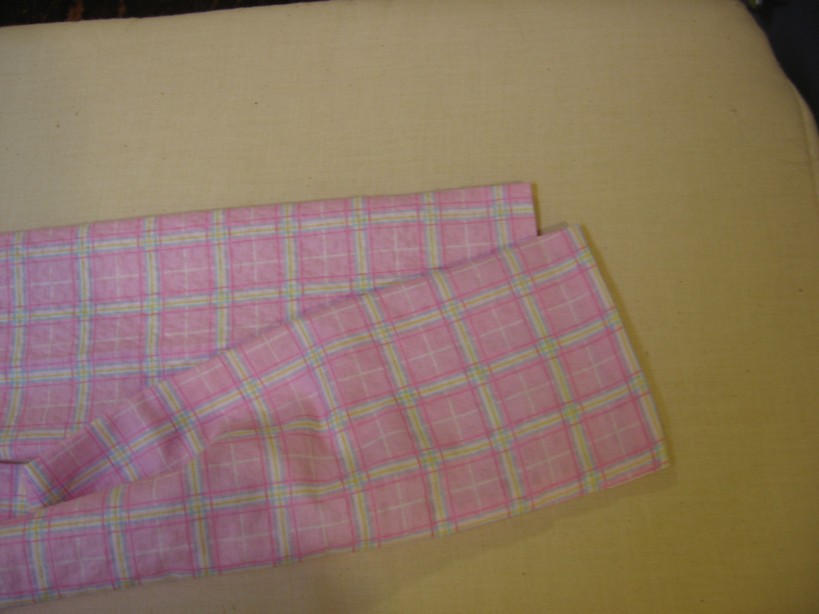
Iron under the raw edges of your tubes
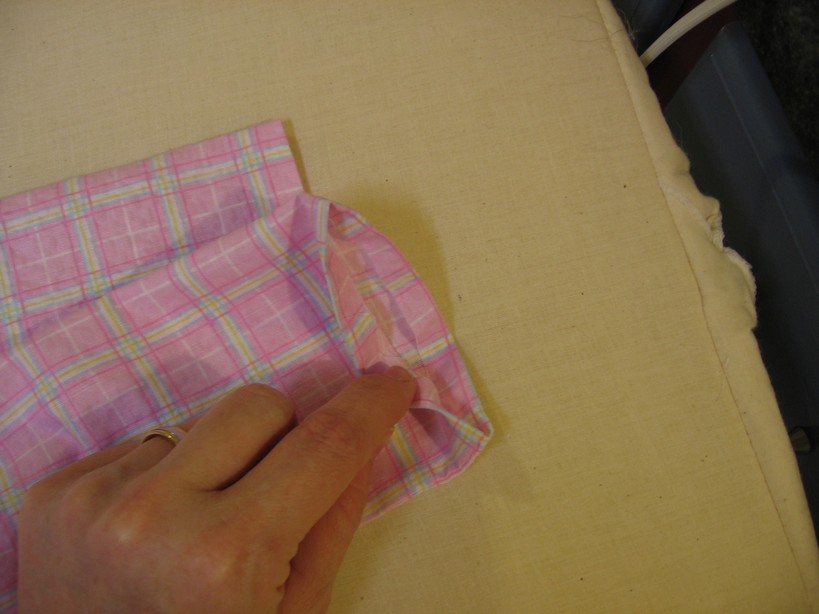
Peeking inside to see the turned-under edge
Now you have the makings of your ruffles! Lay them out on your onesie to determine approximately where they should go. Safety note: I keep the ruffles low on the onesie, like a skirt, so that there’s no way they can flip up to cover her face when she sleeps.
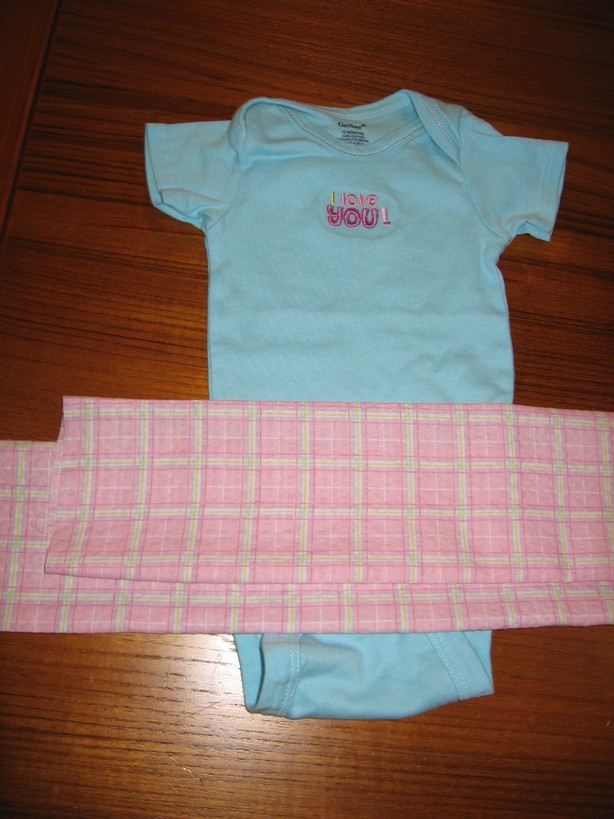
Determine your ruffle placement
Once you figure out where you want your ruffles, mark a line on the onesie for where the top of each ruffle should land. Remember to keep them at least 1″ apart so that you have room to sew both ruffles on the onesie without sewing them on top of each other.
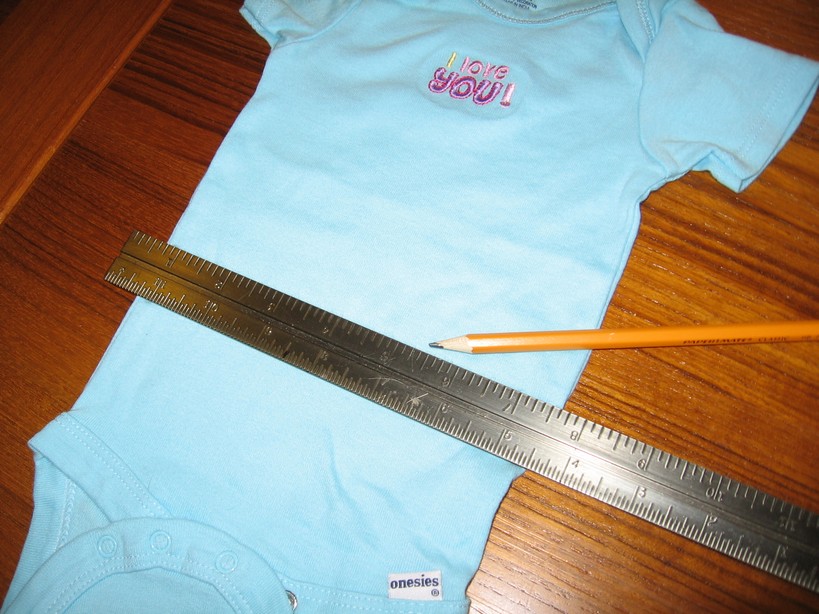
Mark your ruffle lines
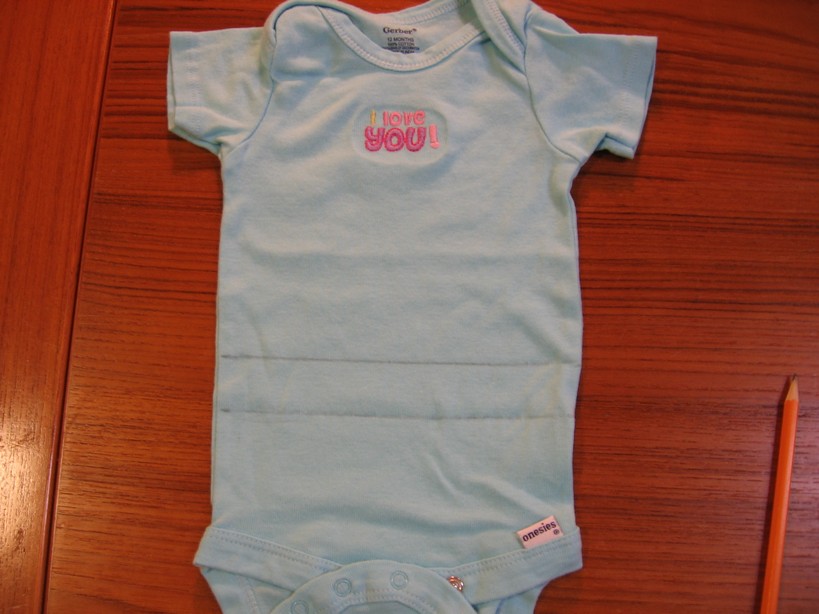
Onesie with ruffle placement marked. Beware: that graphite did not wash out as easily as I thought it would.
Taking your fabric tubes, insert one end inside the other. Lay that down on the sewing machine and topstitch. Now your fabric tube is a fabric cylinder.
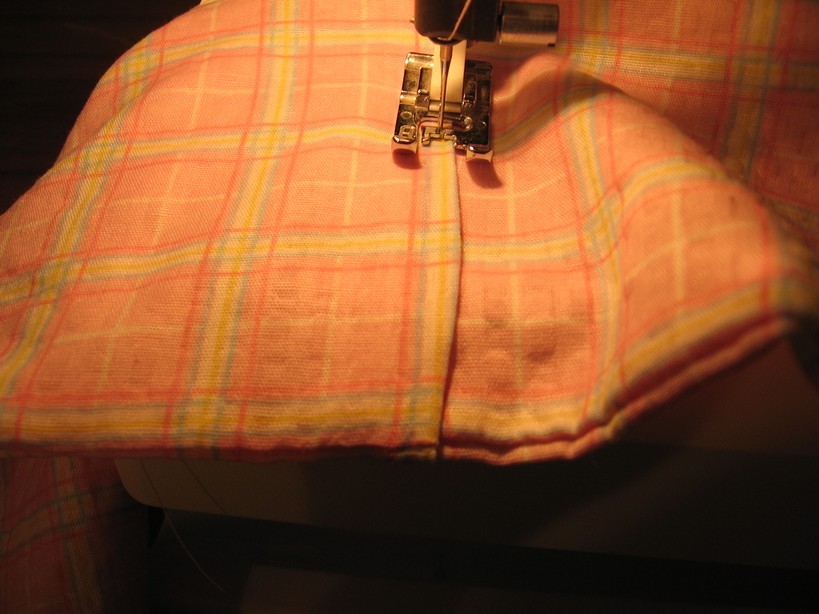
Topstitch one end of the tube into the other end
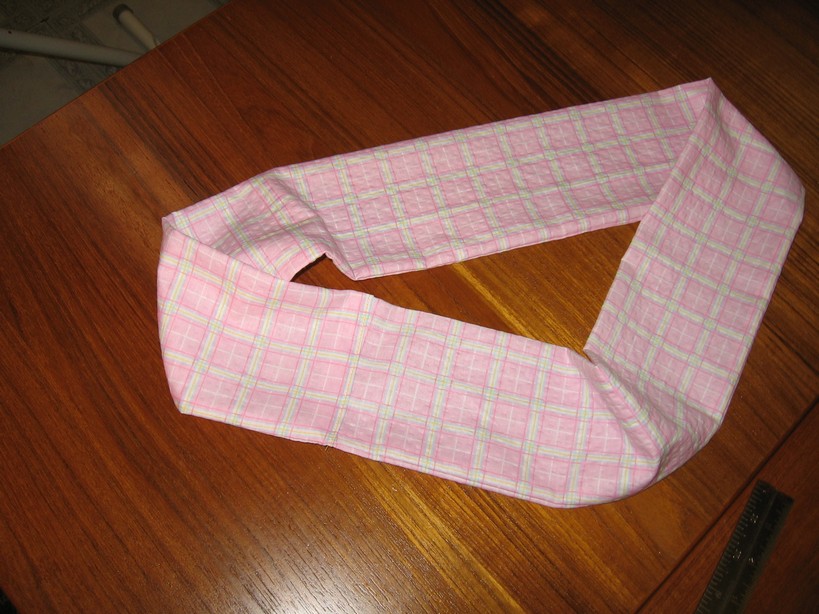
Fabric cylinder!
Next come the basting stitches to make the ruffly-ness. Set your machine on the largest straight stitch possible.
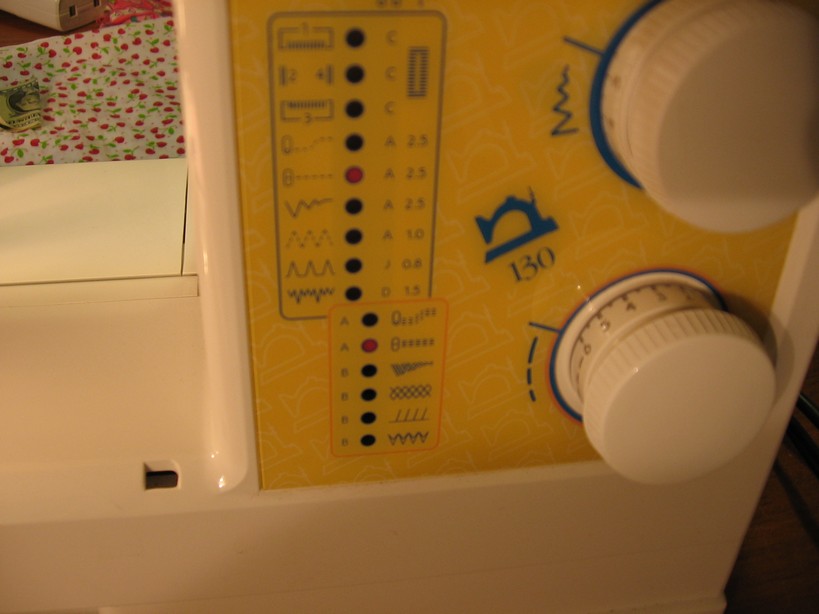
Set your machine on a straight stitch, with as large a stitch as possible
Then sew basting stitches around the TOP edge of each ruffle-cylinder (the top edge is the one without the lengthwise seam). Leave a large seam allowance on this one; I did about an inch. Remember not to backstitch!
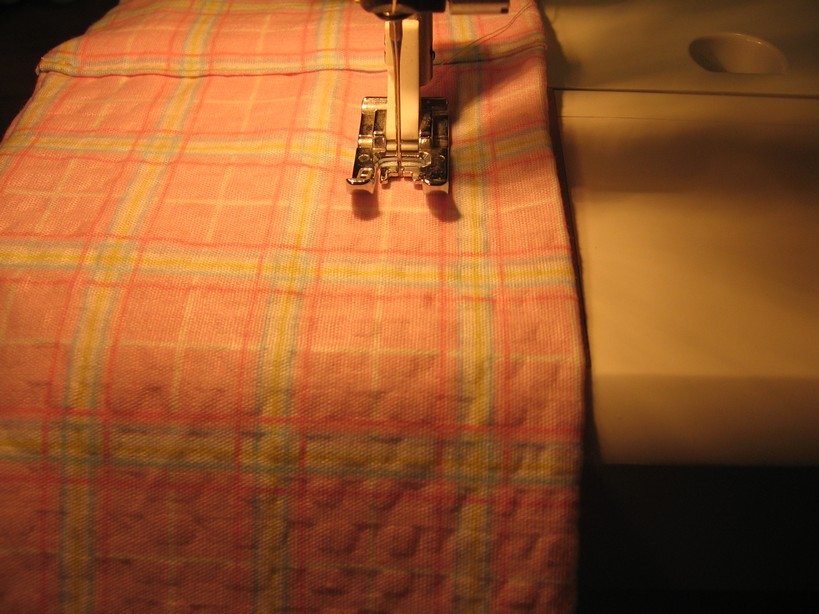
Sew your basting stitches on a large seam allowance along the top edge of the cylinder
Pull on your bobbin thread to gather the ruffles (technically you should use two strands of basting stitches but heck one works pretty well as long as you pull delicately and don’t break the thread when you gather the fabric). When you’re done you’ll have two gathered cylinders of fabric:
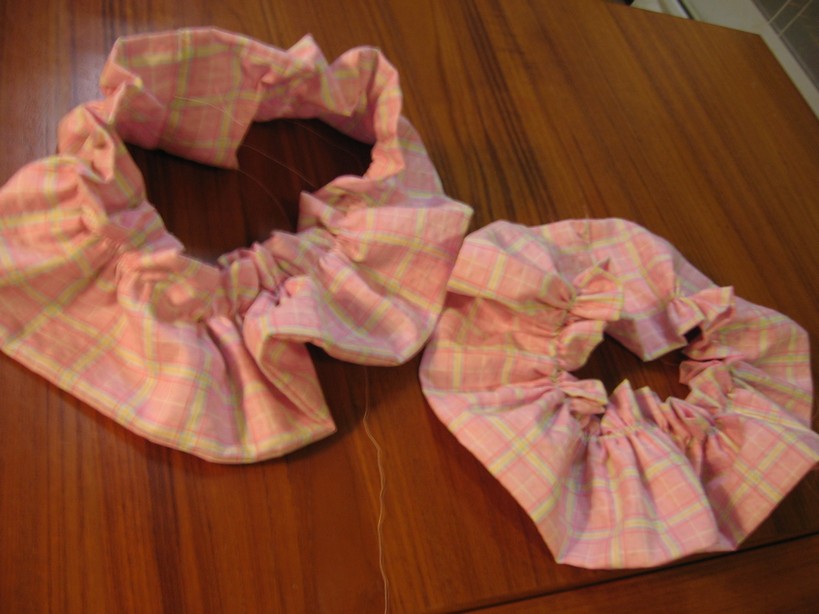
Two gathered cylinders of fabric
Starting with the lower ruffle, pin your ruffle onto the body of the onesie, aligning the top edge of the ruffle with the line on the onesie. I aligned the seam of the ruffle (where you made the tube into the cylinder) on one side seam of the onesie. You may have to adjust the gathers to make the circumference fit the onesie. The ruffle should be just slightly larger around than the onesie, but not a lot.
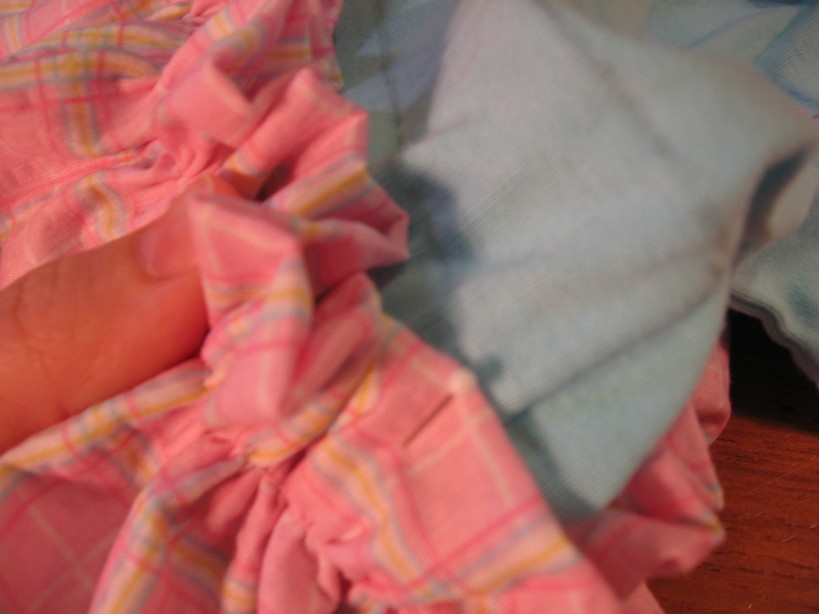
Pin your ruffle to your onesie
Once your ruffle is pinned, slide your onesie around the arm of your sewing machine and stitch the ruffle to the onesie (remember to make your stitch length smaller than the basting stitches!). For the bottom ruffle, I slid the onesie on from the bottom, so the ruffle was actually out to the right. I sewed with straight stitches, aligning the right edge of the presser foot with the basting stitches. Make sure not to stretch the onesie a lot when you do this, because the knit of the onesie is much weaker than the cotton ruffles – it won’t be able to bring those ruffles back into line and you’ll end up with a garment that makes it look like your little one has a hula hoop inside the onesie.
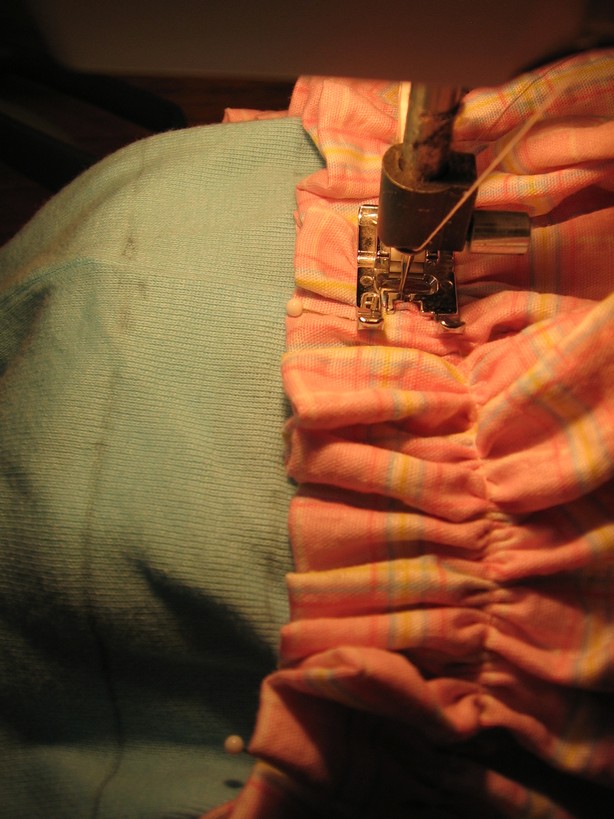
Sew the ruffle on, with your stitch being between the basting stitches and the top of the ruffle
Now you have a onesie with one ruffle!
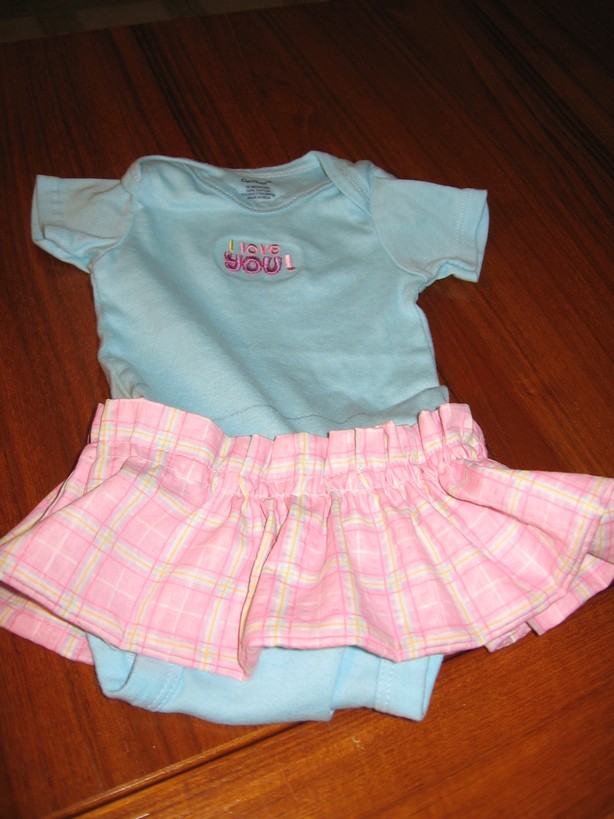
Lower ruffle in place
Repeating the same process, pin the second ruffle on the upper line you’ve drawn on your onesie. Pick the opposite side seam of the onesie to align the side-seam of this ruffle. (This makes sure you don’t have a “droopy” side where both side seams live). Then put your onesie on the machine (this time I put it on via the neck opening) and stitch. Again, stitch the straight seam between the basting stitches and the top of the ruffle. I aligned the left edge of the presser foot with the basting stitches.
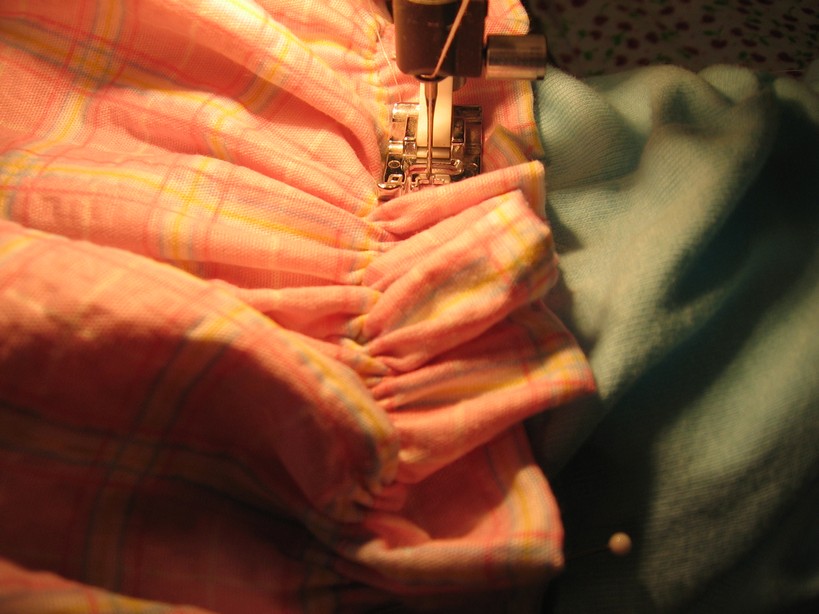
Stitch your second ruffle on
Now all you need to do is use the seam ripper to take out the basting stitches. It’s often easier to do this from the underside of the ruffle so that you don’t accidentally take out the stitches attaching ruffle to onesie.
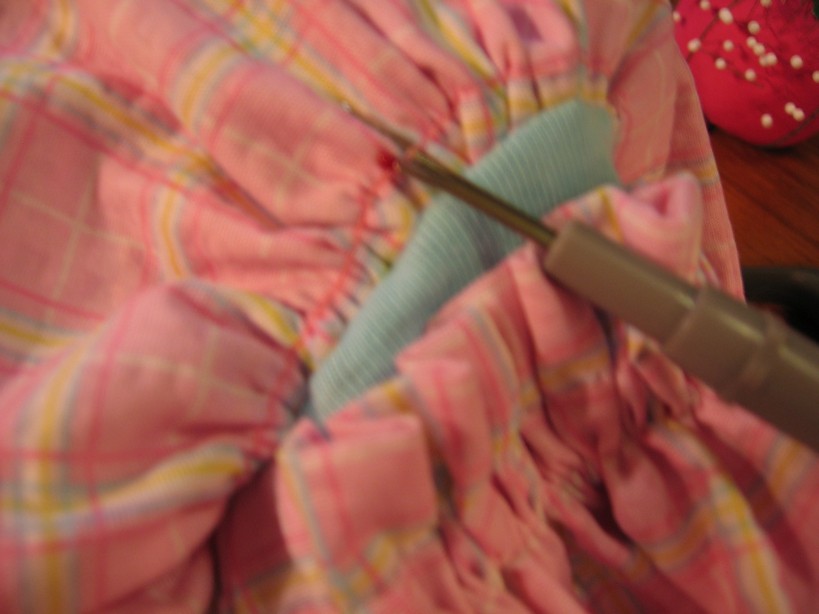
Remove the basting stitches with a seam ripper
Et voilà, your plain utilitarian onesie is now transformed into an adorable and easy outfit with an attached ruffled skirt!
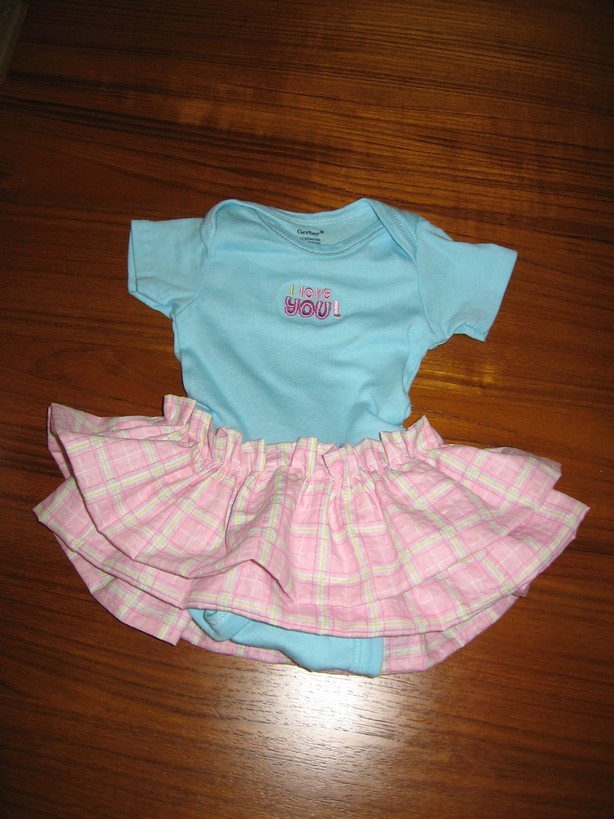
The final product!!
And here’s my little angel gamely modeling it for me!
Baby Bootsie in her New Ruffled Onesie
The color combos are endless, and it really only takes 1/2 yard or so of fabric to make this. You can also dress it up by trimming the end of the ruffle with a coordinating bais tape or other fun trim. Here’s my other favorite one – retro cherry print on pink gingham. Next up is leopard print on a pink onesie!
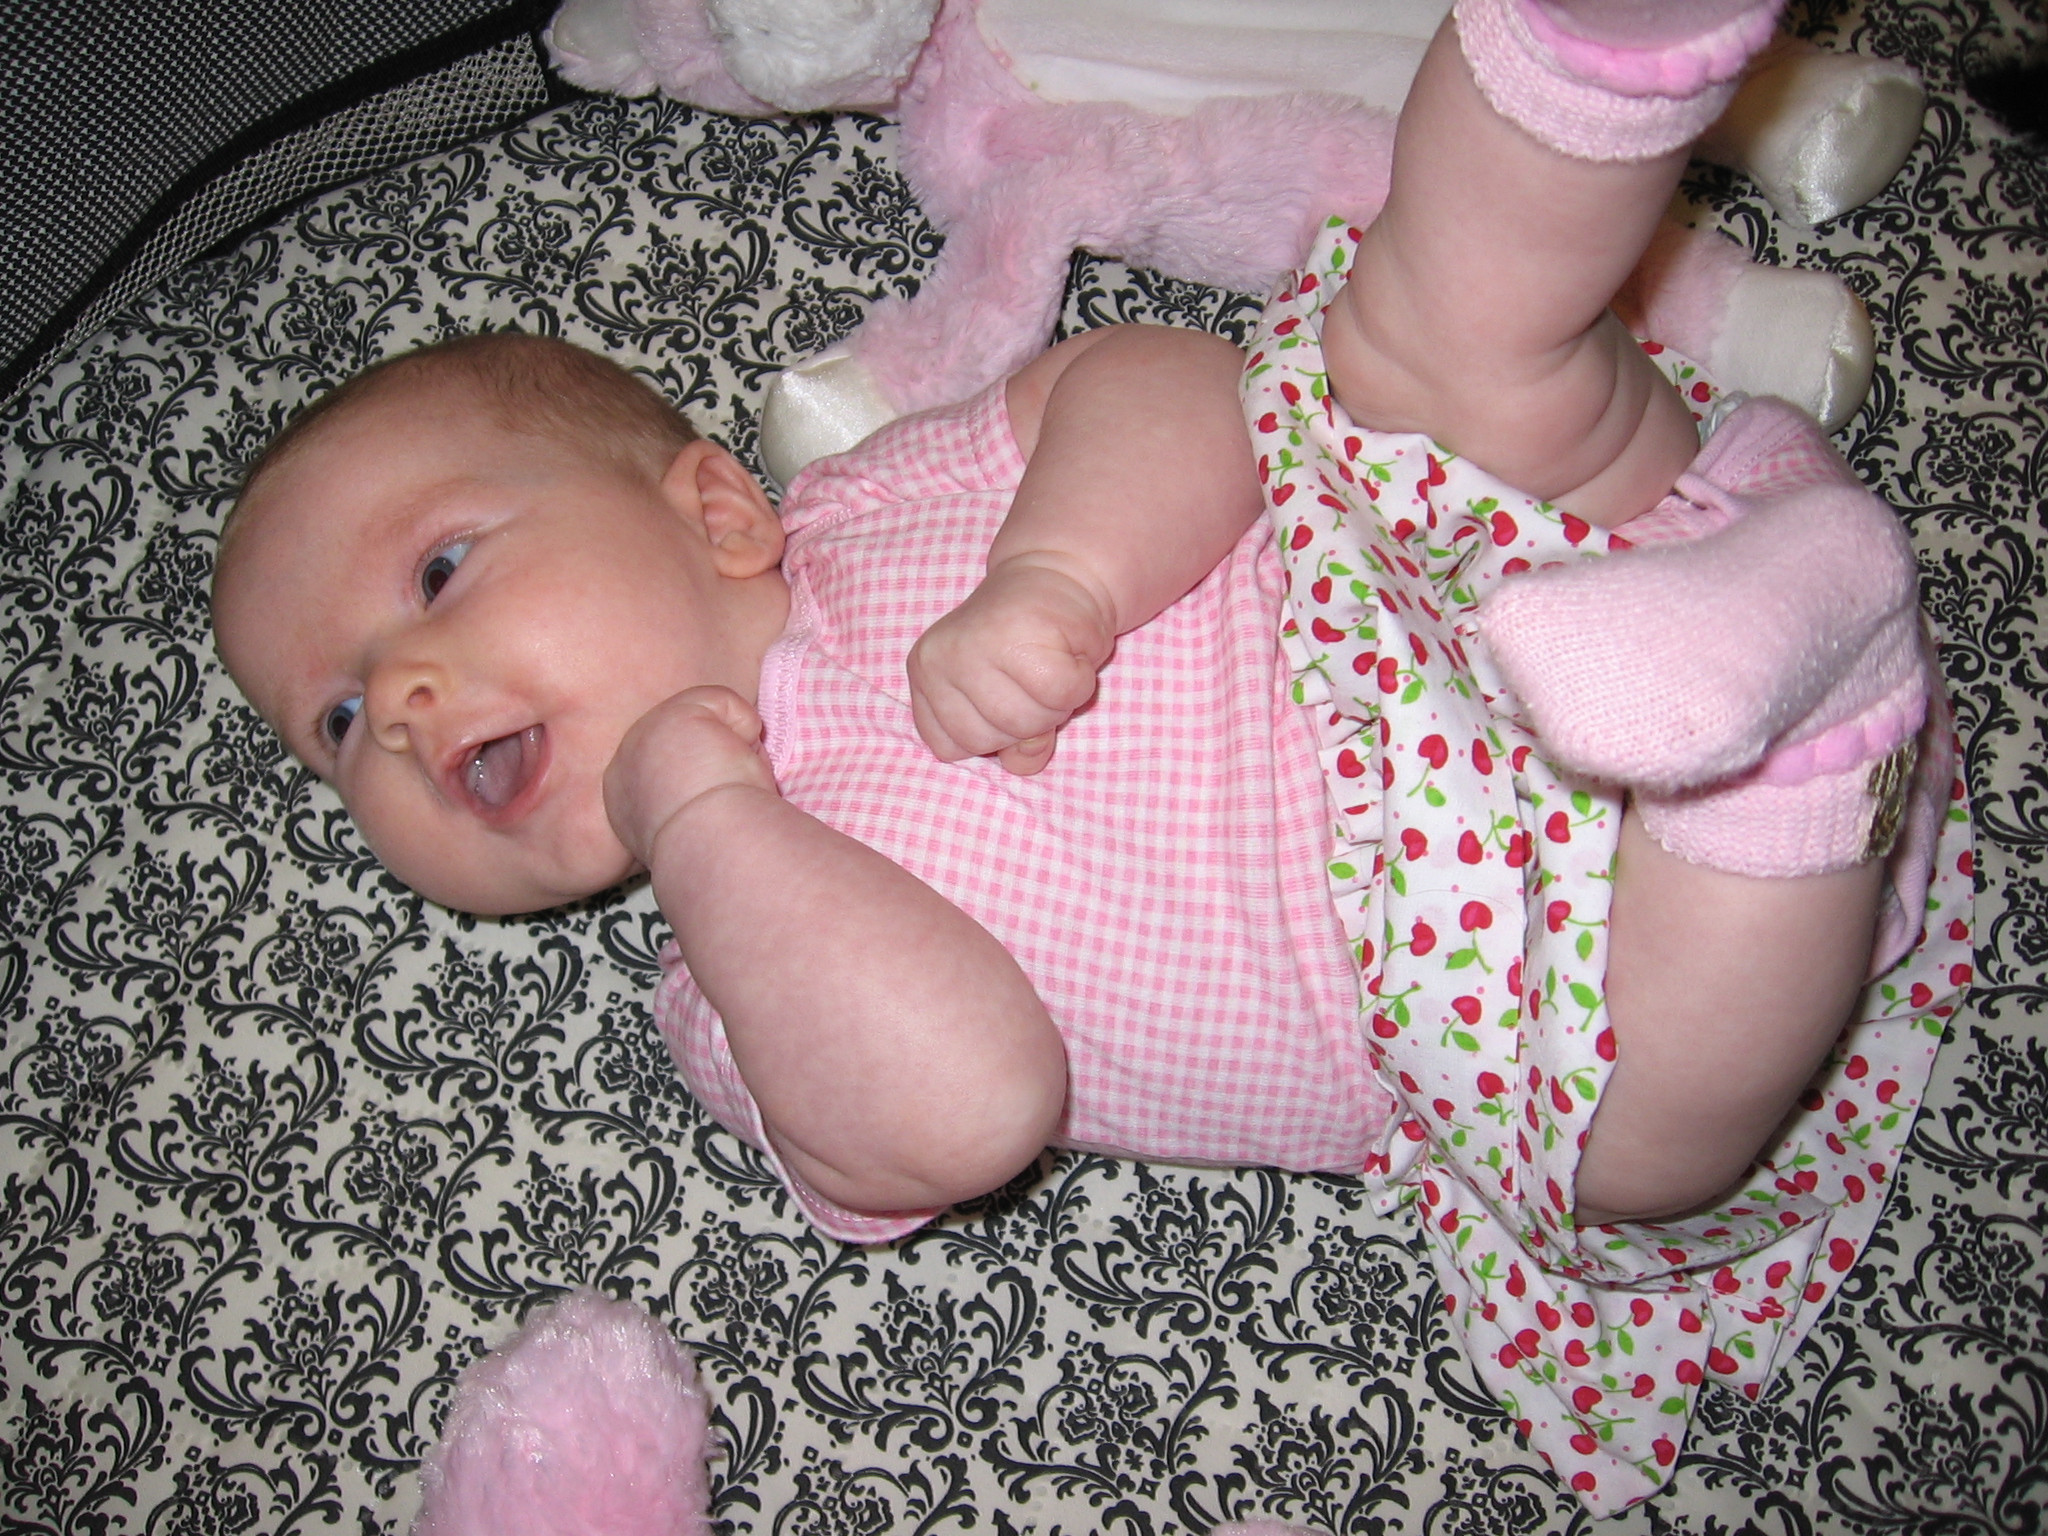
Baby Bootsie in her retro rockabilly ruffles
Post a comment